

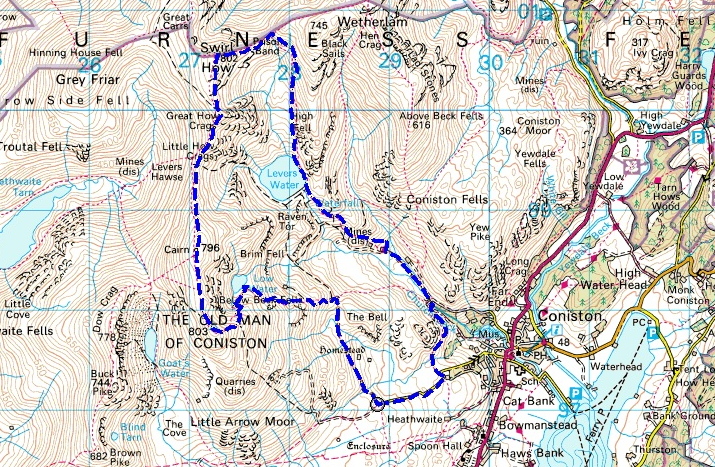
Between Coniston Old Man and Swirl How
The route
I’ve been writing routes for Walking World for several years now, and one of my earliest contributions was Coniston Old Man and Swirl How, returning by the Coppermines Valley. Not only is it one of my earliest routes for them, it’s also a consistently good seller. However, things change, even on the hills, so when I was looking for a Lakes route for Chris and buddies Richie and Babs Boardwell I jumped at the chance to repeat this trip.

Setting out from the Walna Scar Road

The old mine workings

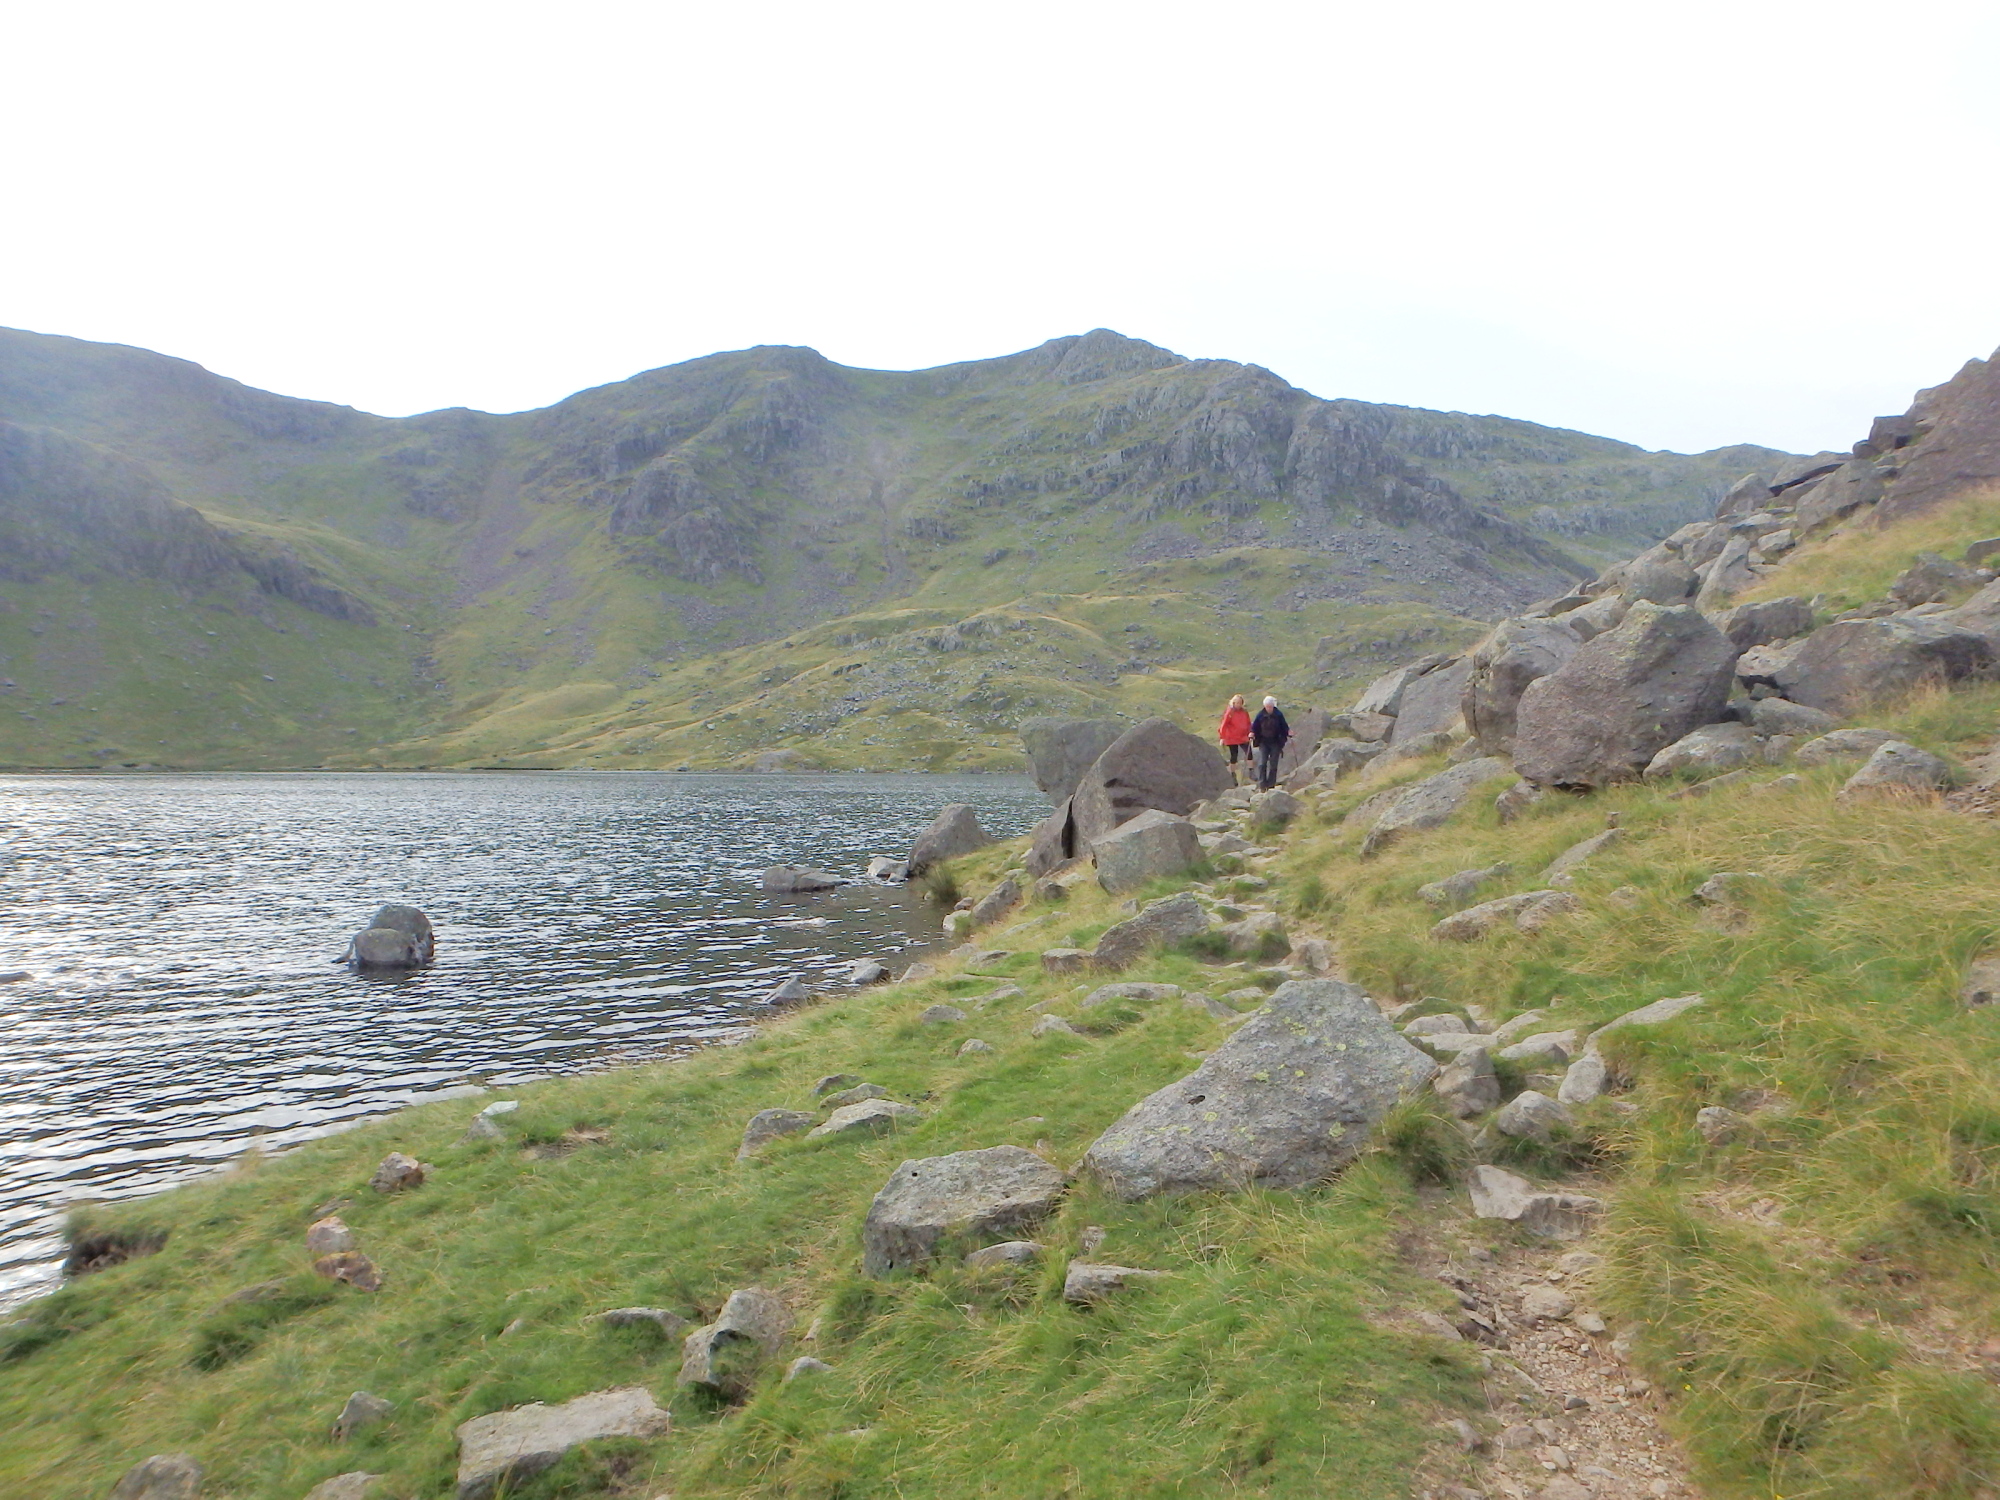
Above Low Water
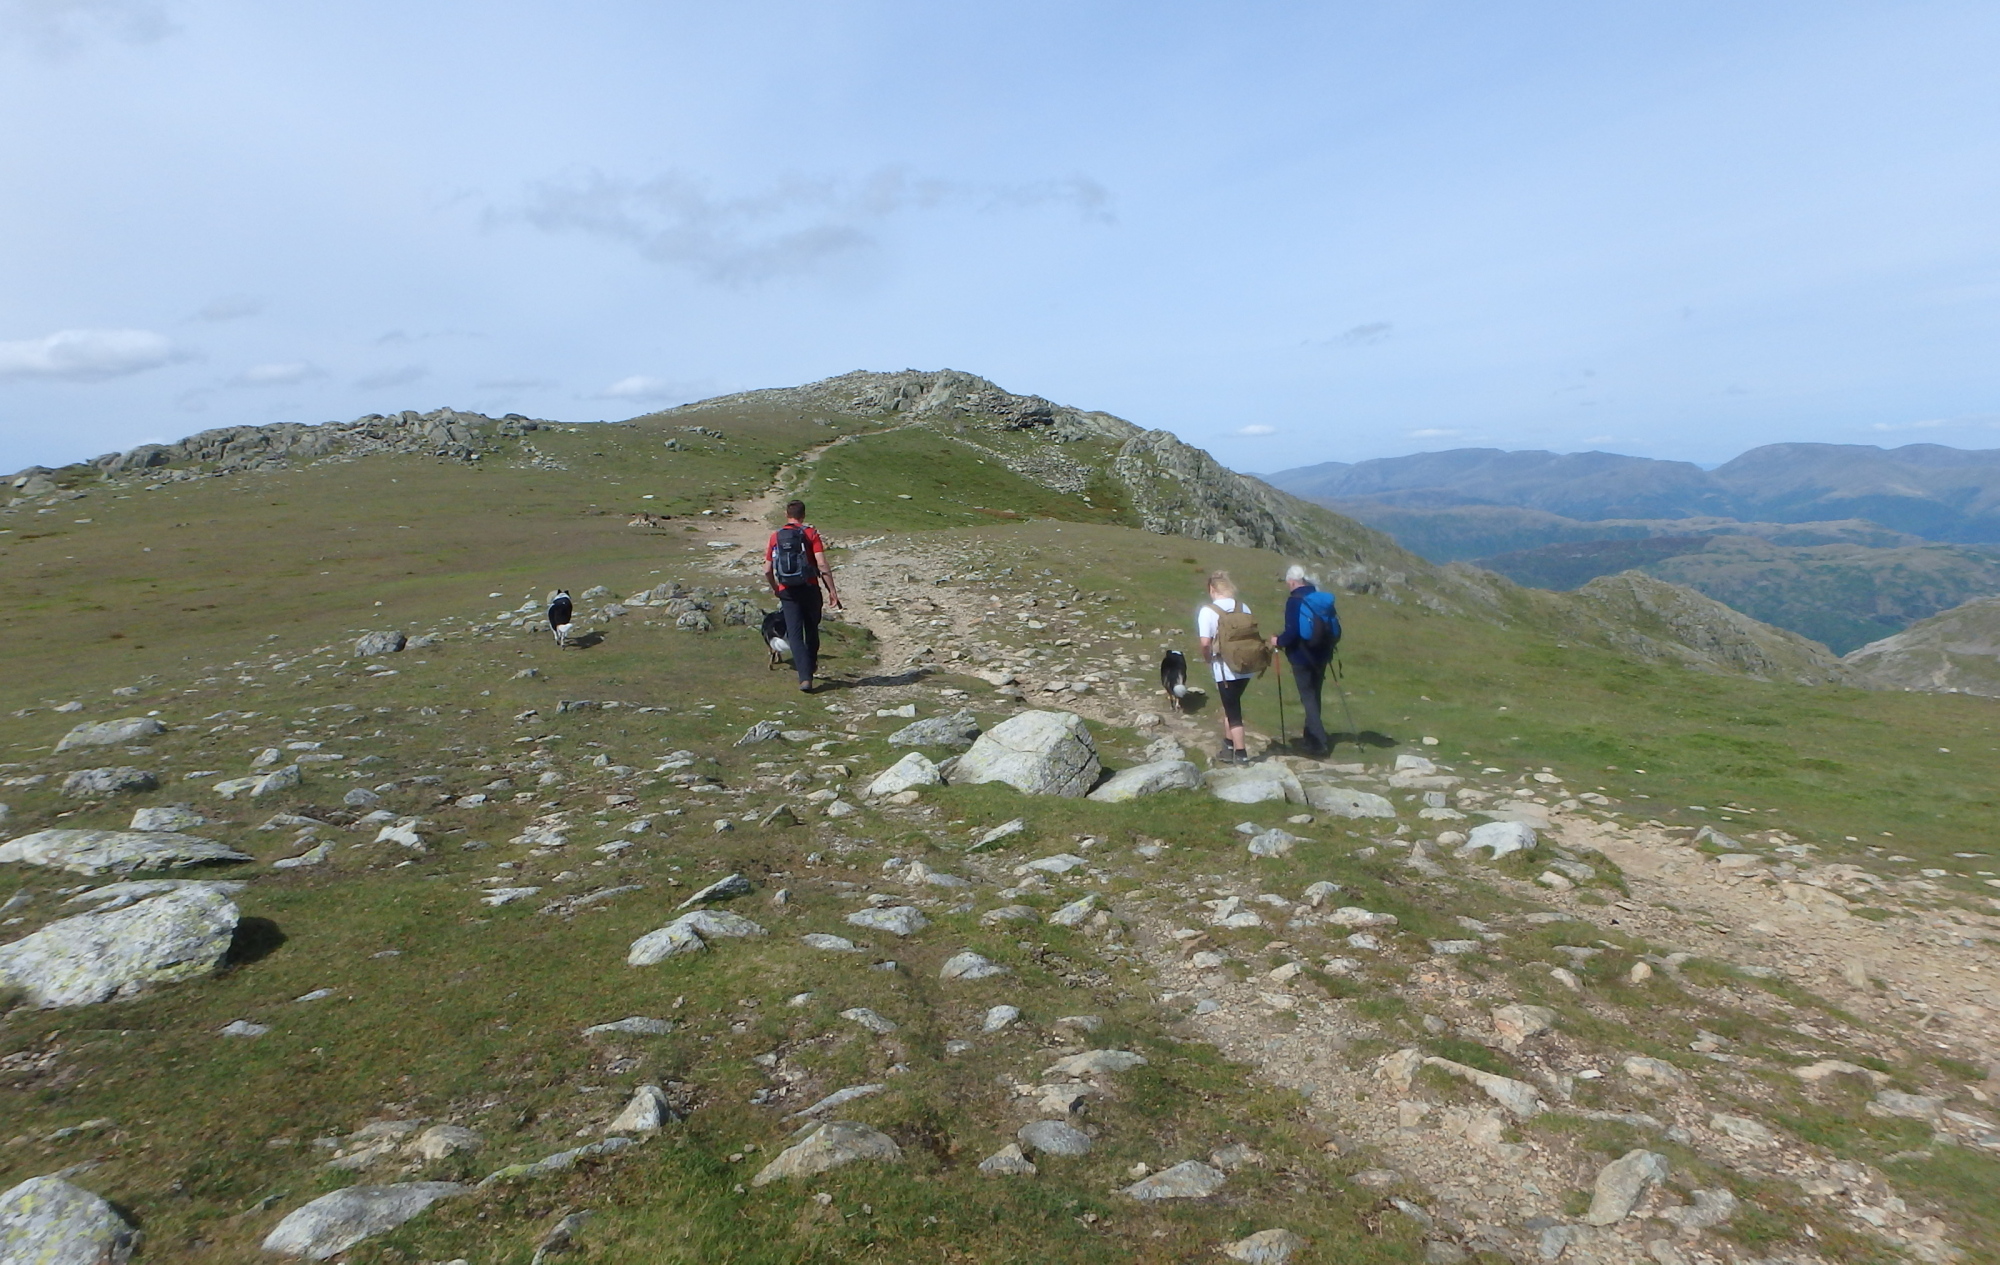
Richie, Babs and Chris approaching the summit of Old Man, Coniston Water behind

The author and Border Collie ‘Mist’ at the summit
There are several good ways to the summit of Coniston Old Man, but for my money the route through the old mine workings has the most interest, and the last time that Chris and I had visited the Old Man (see post #179) we had come up this way. It’s also the most popular (and easiest) way to the top, and is guaranteed to be busy, but once past the summit things quieten down a bit.

Leaving the summit of Coniston Old Man

Heading north for Swirl How
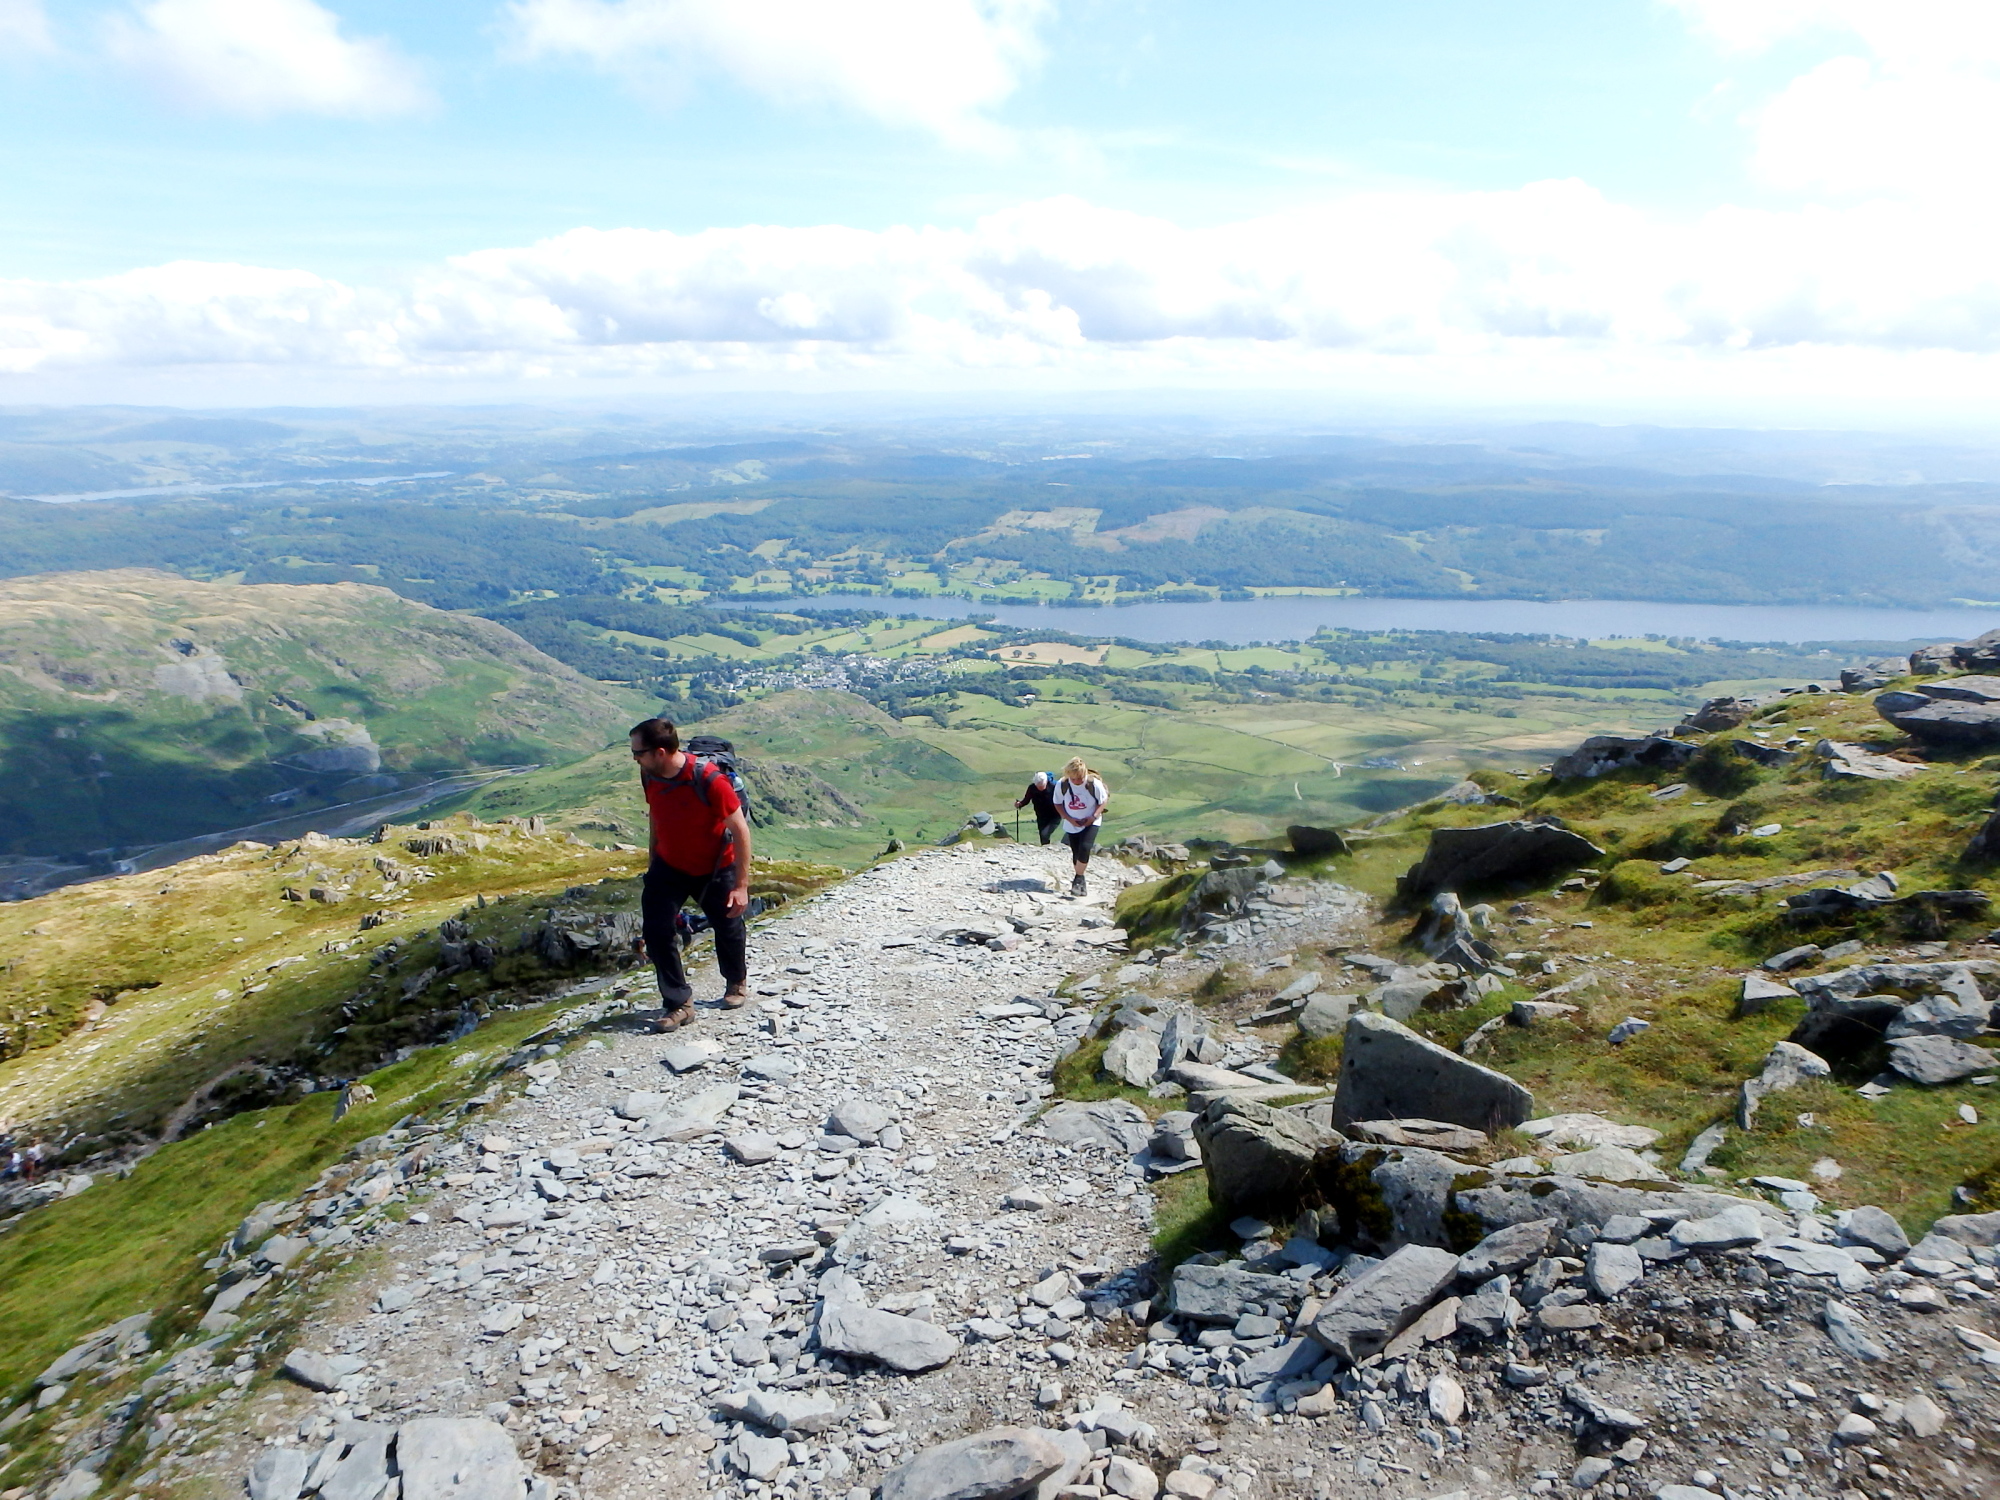
Babs getting down to serious photography

Start of the descent to Levers Hawse ….
…. and up the other side towards Great How ….

…. with Seathwaite Tarn in the background
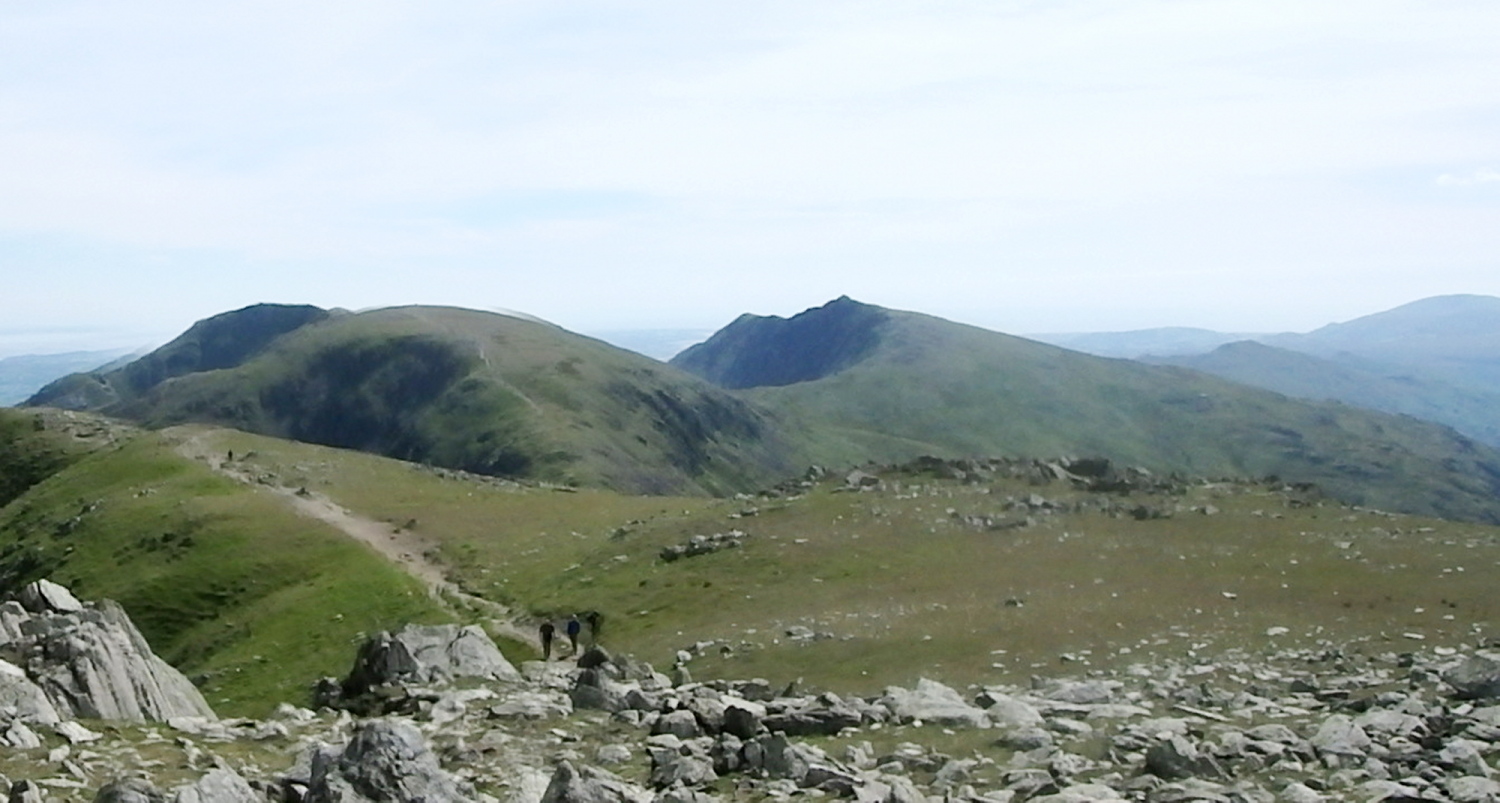
From Coniston Old Man the route is a broad, easy-walking ridge. It wasn’t quite as quiet as anticipated as there was a mountain marathon on at the time (can’t remember what event it was), and we were passed by some very earnest looking fell-runners with that far-away look of pain and anticipation that goes with the game. Along the way, Babs went about increasing her portfolio of ‘Dogs and Landscapes’ images – for Babs there’s only one way to get a good dog photo, and that’s to get down with the doggies!

Little How and Great How
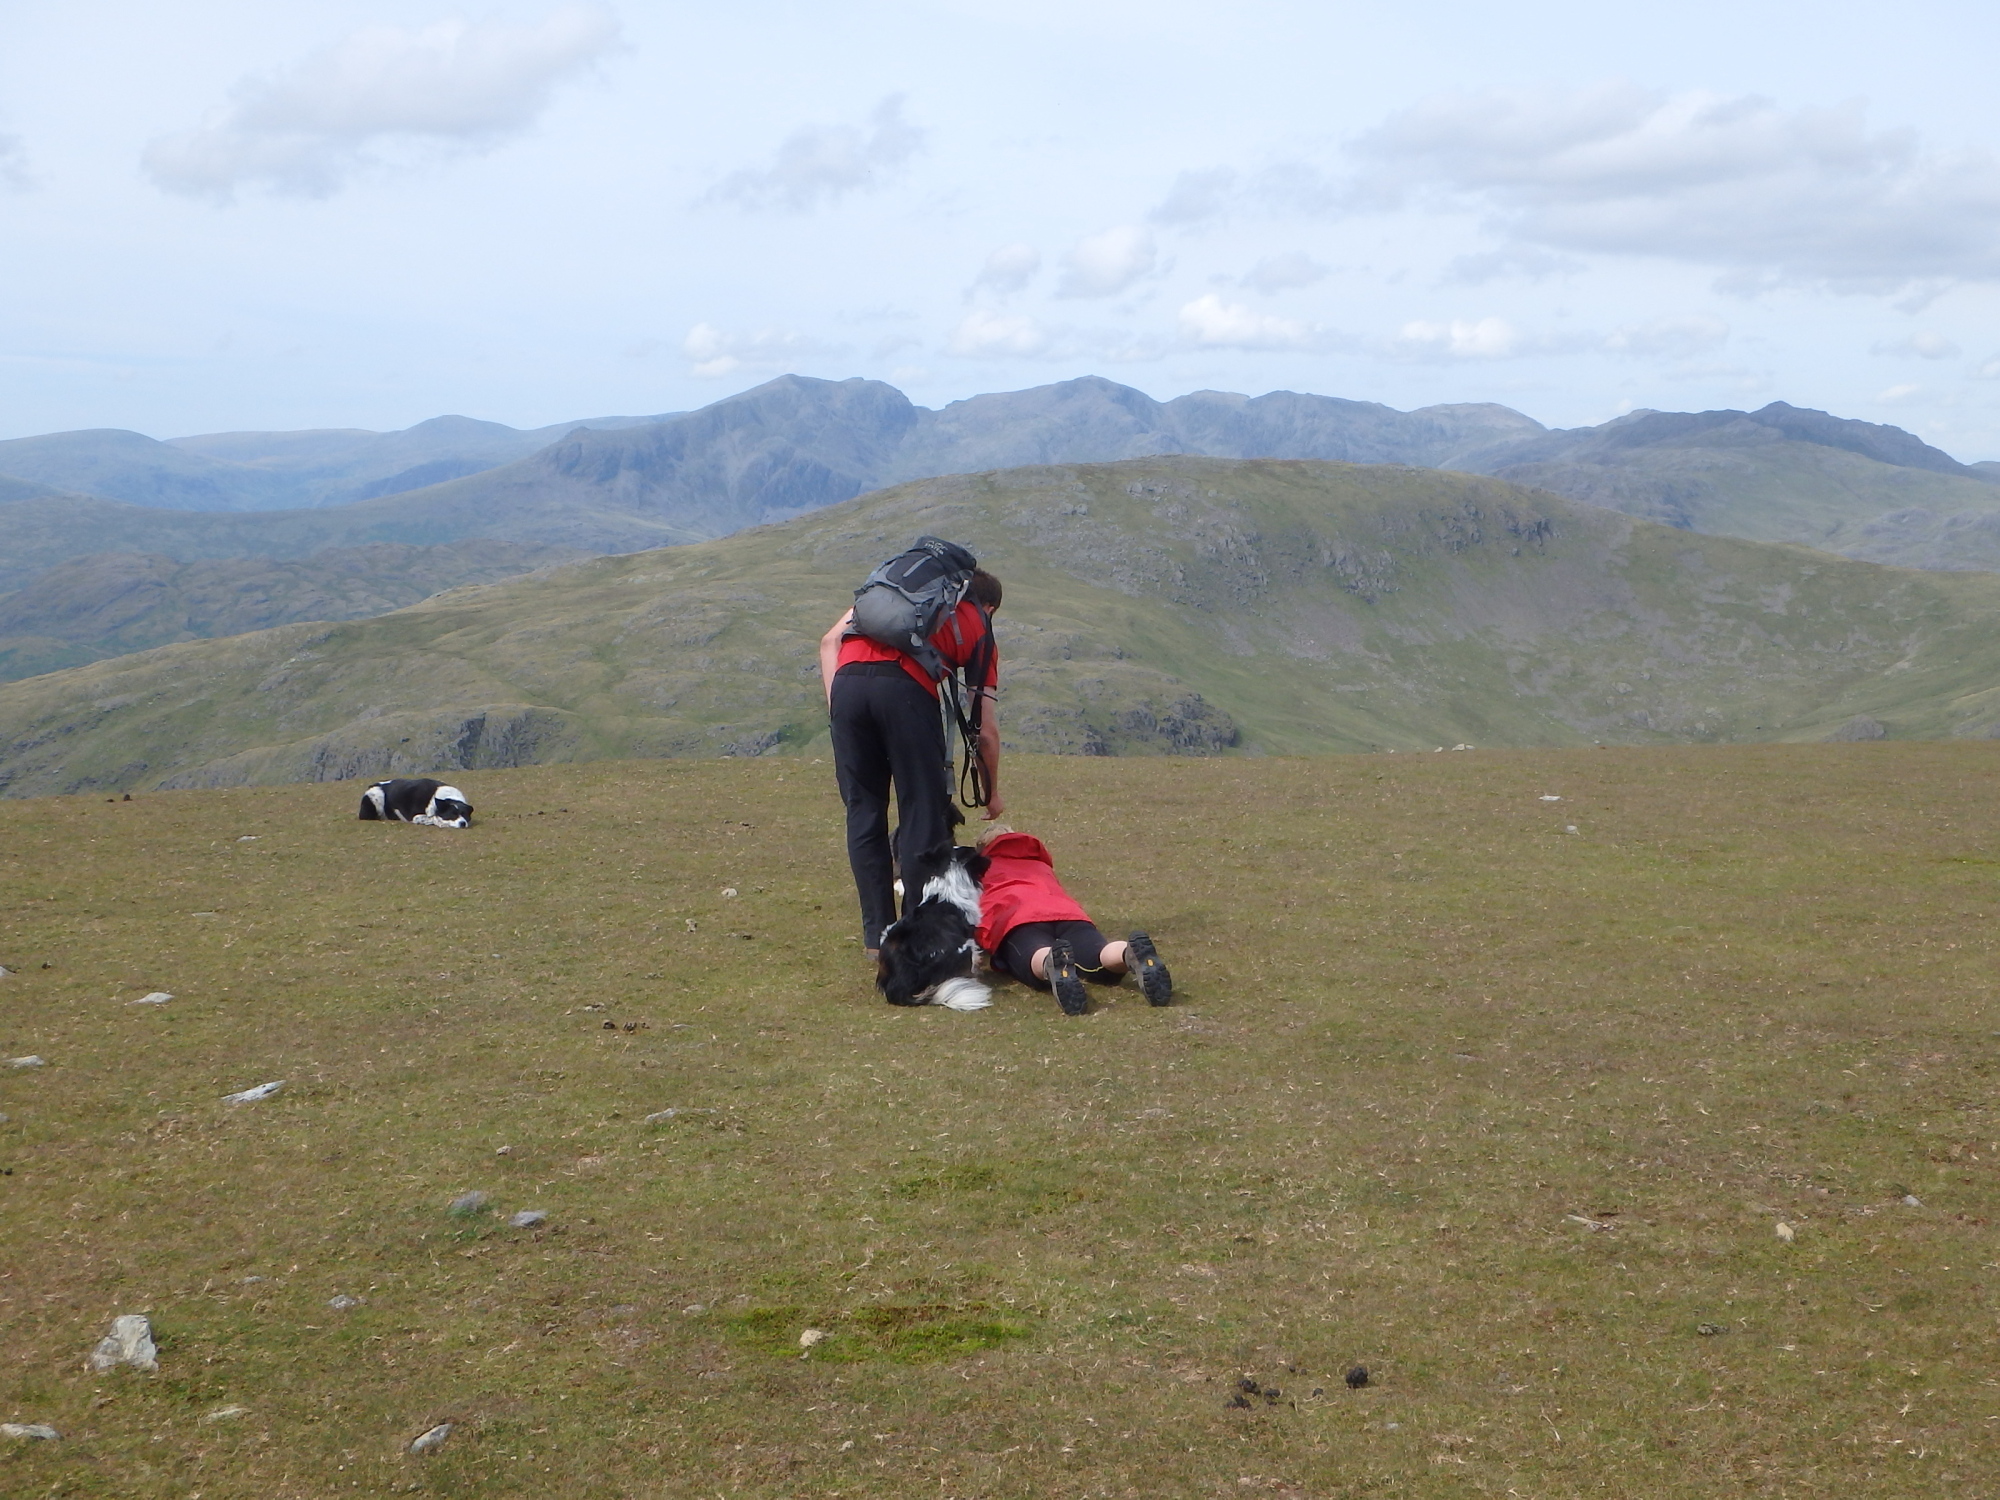
Swirl How ahead

Looking back towards Great How ….
…. with Coniston Old Man (left) and Dow Crag (centre)

The final bit of ascent to Swirl How
The route takes a couple of small ups and downs before ending up right on the summit of Swirl How. The summit of Great Carrs was just a short distance away, with a memorial to the crew of a wartime aircrash – on 22nd October 1944 a Halifax bomber on a navigation exercise struck the hillside, killing the crew of eight. Unfortunately the day was getting on and we didn’t have time to make the diversion to visit the site.

The descent ridge of Prison Band on the skyline (seen from Levers Water)

Heading down to Levers Water from Swirl Hawse
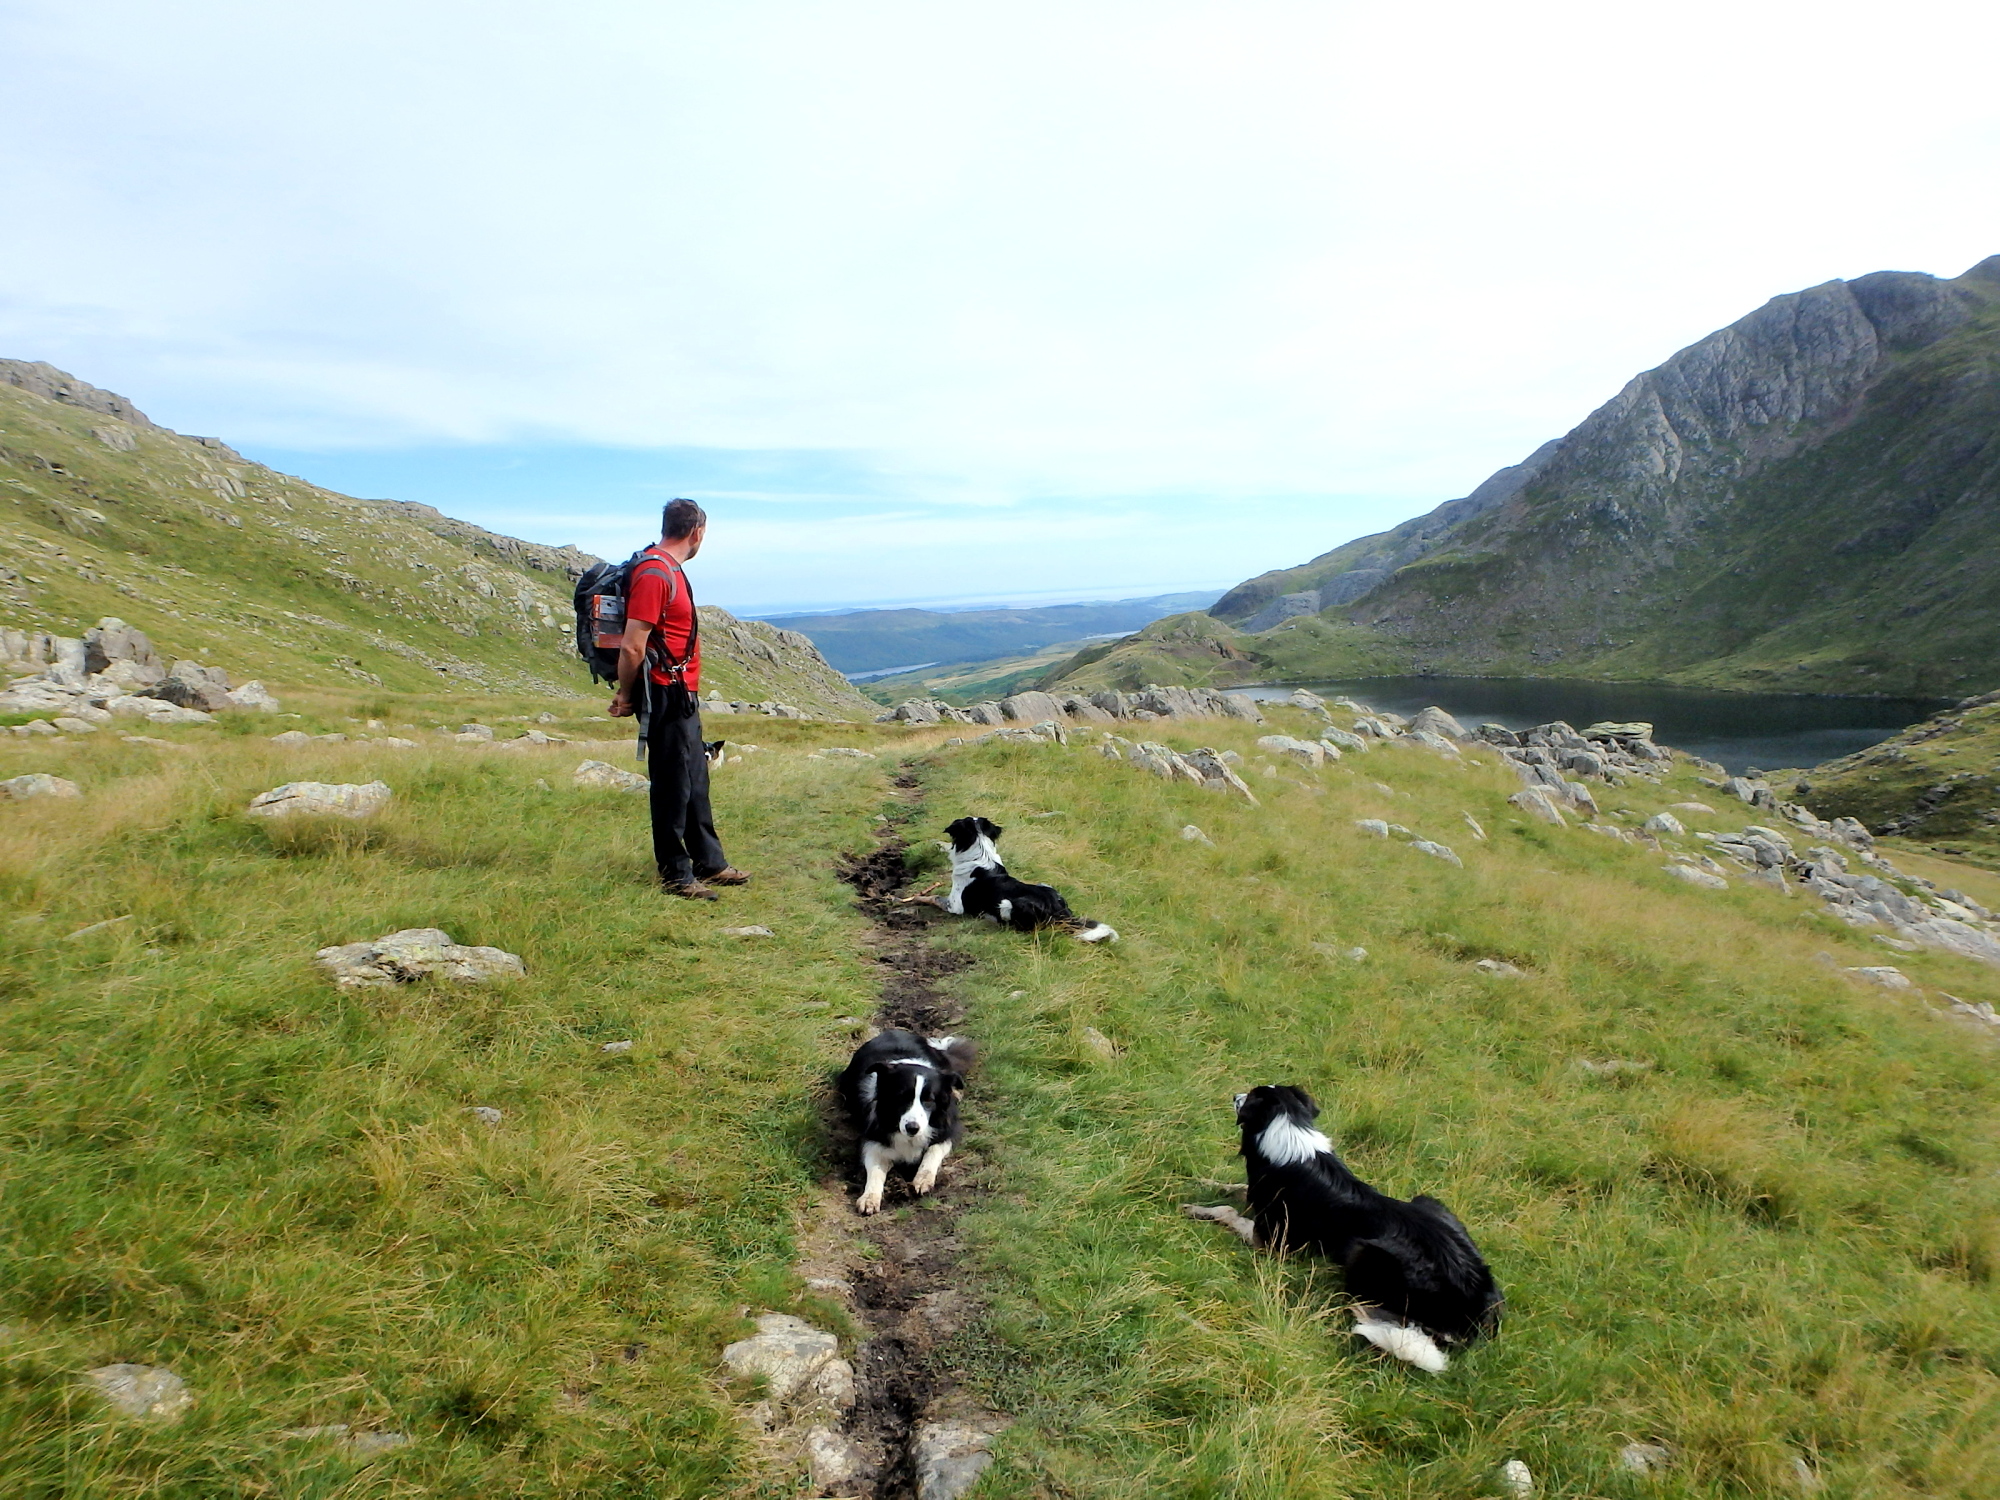
Collie collection!

Levers Water ahead
Near Levers Water ….
…. with Swirl How in the background
It was time to head back – the route down the East Ridge of Swirl How goes by the ominous name of Prison Band, but although the ground is broken and rocky it isn’t a serious obstacle. We passed Levers Water before heading down to the Coppermines Valley to finish, trying to ignore the happy group at one of the holiday lets who had decided it was ‘Wine O’Clock’ – it only made our experience sweeter when we opened our own bar a short time afterwards.

Final bit of ‘bracken bashing’

Heading for home – Coppermines Valley
Text and images © Paul Shorrock


Beautiful area. Looks like a spending place for a trek.
LikeLike
It’s a great place Josh – we don’t have as much wilderness as you, but we make the most of what we have 🙂
LikeLiked by 1 person
It’s never quiet up there – Wainwright said there were always groups of boy scouts, women in high heels etc. on the summit of COM and he was right!
What on earth possessed you to drive up that dreadful road to start? I always start from the village – saves on my nerves!
Carol.
LikeLike
It was so busy that we couldn’t get near the sheltered area by the summit – nothing new there then Carol.
Haha …. totally fearless about the road!! I think it’s worth it for the position, a great place to overnight with the van.
LikeLike
didn’t realise you were camping up there
LikeLike
Well, not ‘proper’ camping – unashamed luxury (and comfort!) in the campervan 🙂
LikeLike
I call that camping
LikeLike
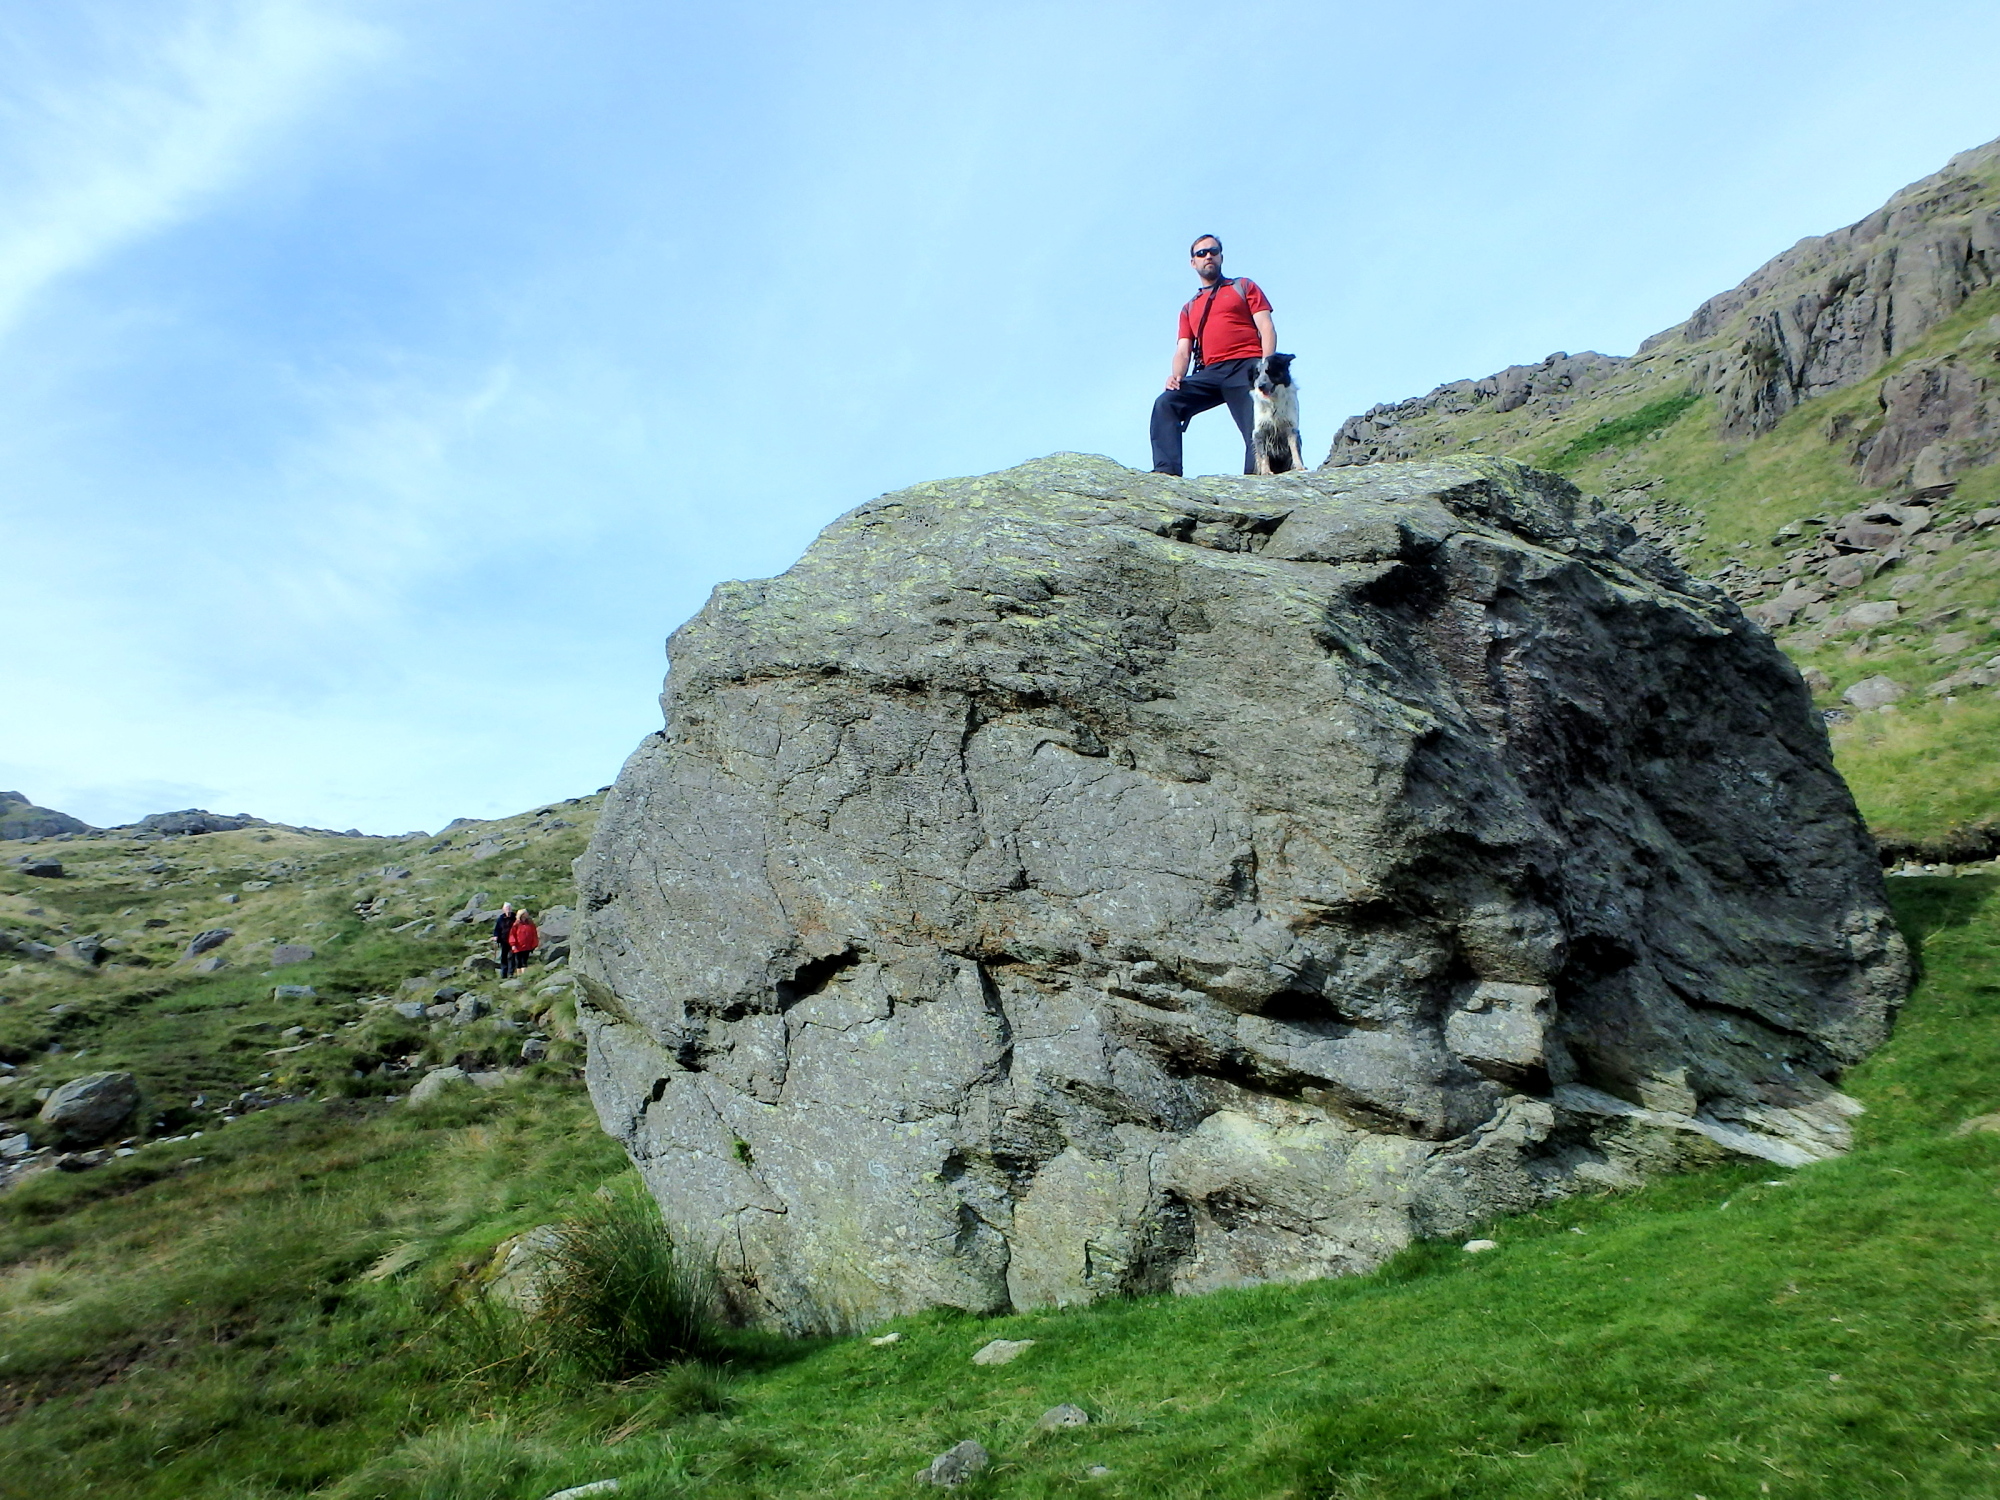
I see I have finally learnt to smile 🙂 🙂 🙂 🙂 Great pics Paul (love my boys on that massive rock) and a write-up to boot. Good job x
LikeLike
Thanks Babs – you smile most of the time, I’m just getting better at catching the smiley bits 😀
LikeLike
good answer!!!! 🙂
LikeLike
Fabulous photos. My family are partly from New Zealand and this made them think of home. I want to do this tramp like your dogs…
LikeLike
Glad to remind you of the beauty of New Zealand! 🙂
LikeLike
Fantastic! This was possibly the first hike I did in the Lakes when I was in my teens – still a wonderful day out. And you had excellent weather too 🙂
LikeLike
One of my earliest walks in the Lakes as well SP – I usually get good weather on my walks nowadays, ‘cos I don’t go out if it’s raining 😉
LikeLike
Pingback: #233 – Coniston Old Man and Dow Crag | Paul Shorrock – One Man's Mountains AKA One Pillock's Hillocks
Pingback: #263 – Coniston Old Man (via Levers Water) and Dow Crag | Paul Shorrock – One Man's Mountains AKA One Pillock's Hillocks